Spensa Screens
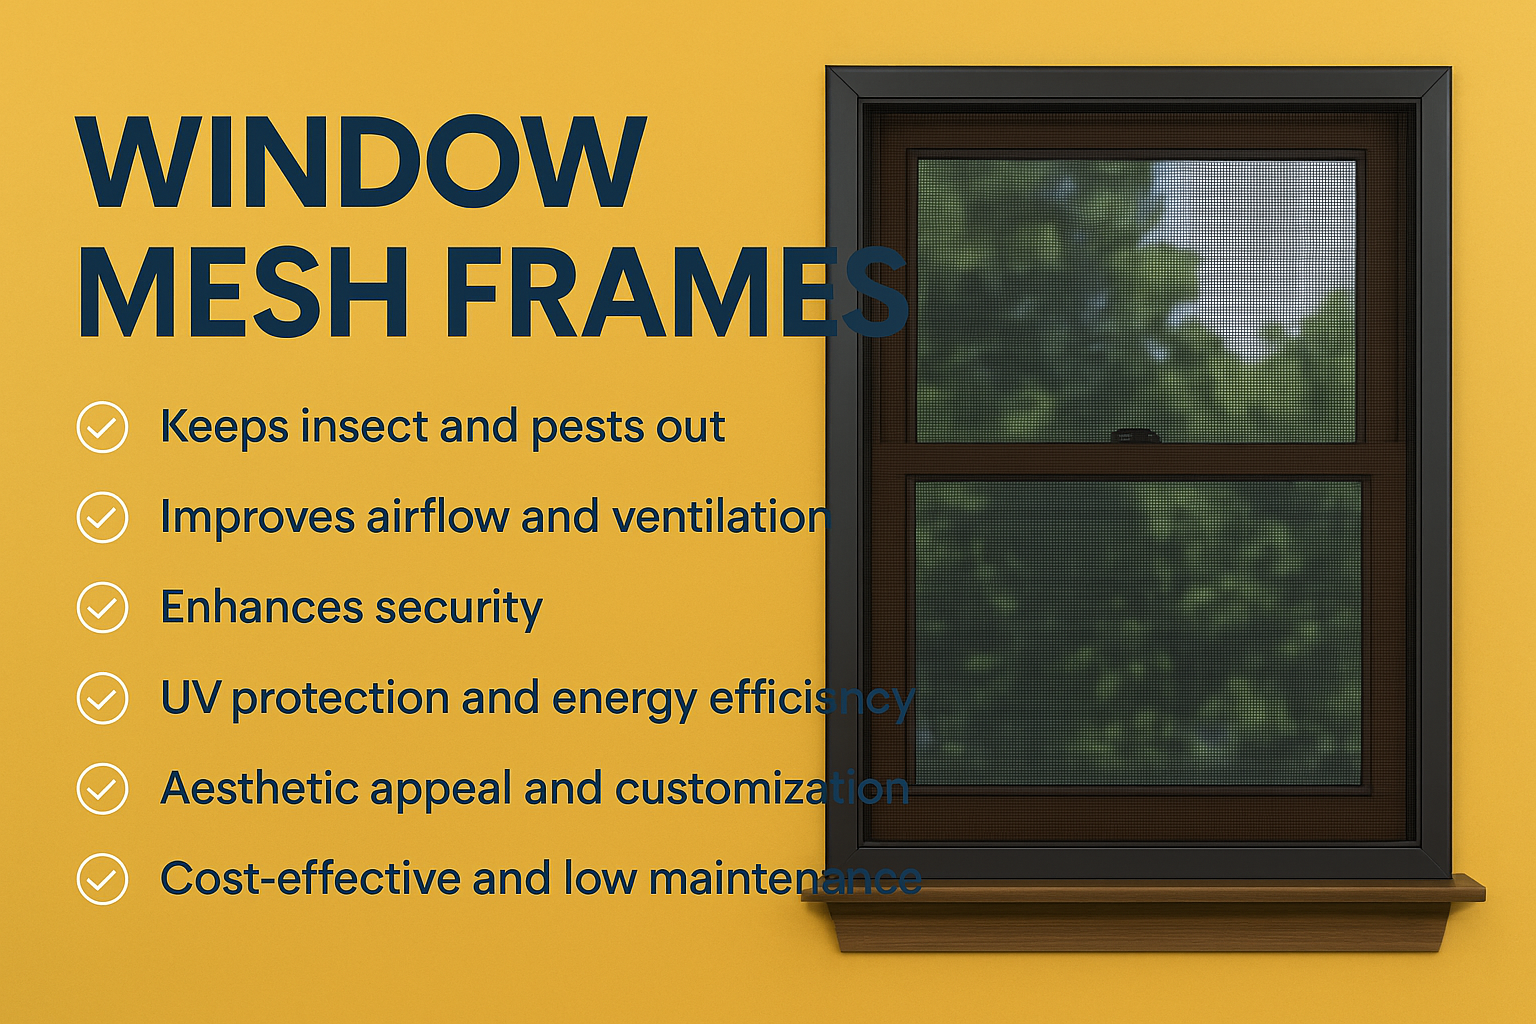
Replacing a window screen might not be a top-of-mind task for homeowners, but as summer temperatures rise, paying attention to any damage or distortion becomes crucial. Window screens protect against pests and debris and maintain a clear view of the outdoors.
Neglecting damaged screens can lead to reduced longevity and compromised efficiency. This step-by-step guide aims to provide an easy process for replacing a window screen, ensuring smooth operation and unobstructed views.
Recognizing the signs that it’s time to replace a screen, gathering the necessary tools and supplies, and following the instructions diligently will help homeowners maintain a comfortable and pleasant living environment.
If you need to replace a window screen, we’re here to help! Good indicators that your screen is due for replacement would be:
The window is difficult to open or close
Large holes or rips in the screen
An increase of more outside noise than usual
The window screen appears to be shinier rather than matte or dark in color.
If you’re experiencing any of these indicators, use our guide as an easy step-by-step process on how to replace a window screen from start to finish.
To replace a window screen, you will need the following tools and supplies:
New Window Screen Material: Purchase a roll of window screen material that fits the size of your window frame. Choose a material suitable for your needs, such as fiberglass, aluminum, or other durable options.
Flathead Screwdriver: Use a flathead screwdriver to help pry the old screen out of the frame.
Hammer: You may need a hammer to remove staples or nails securing the old screen to the frame, especially if you have a wooden frame.
Staple Gun (optional): A staple gun can help attach the new screen material to the frame, particularly for wooden frames.
Scissors: Use scissors to cut the new screen material to fit the window frame accurately.
Utility Knife: A utility knife can trim the excess screen material after installation.
Staple Remover for Wooden Frames (optional): If your window frame is wooden and held in place with staples, a staple remover will make the removal process easier.
Spline Roller (for non-wooden frames): A spline roller is a tool used to securely press the screen material and spline (rubber gasket) into the grooves of non-wooden frames.
Staples or Wire Brads (for wooden frames): If your window frame is wooden, you’ll need staples or wire brads to fasten the screen material to the frame.
Having these tools and supplies ready before the replacement process will make the task more efficient and help ensure a successful window screen replacement.
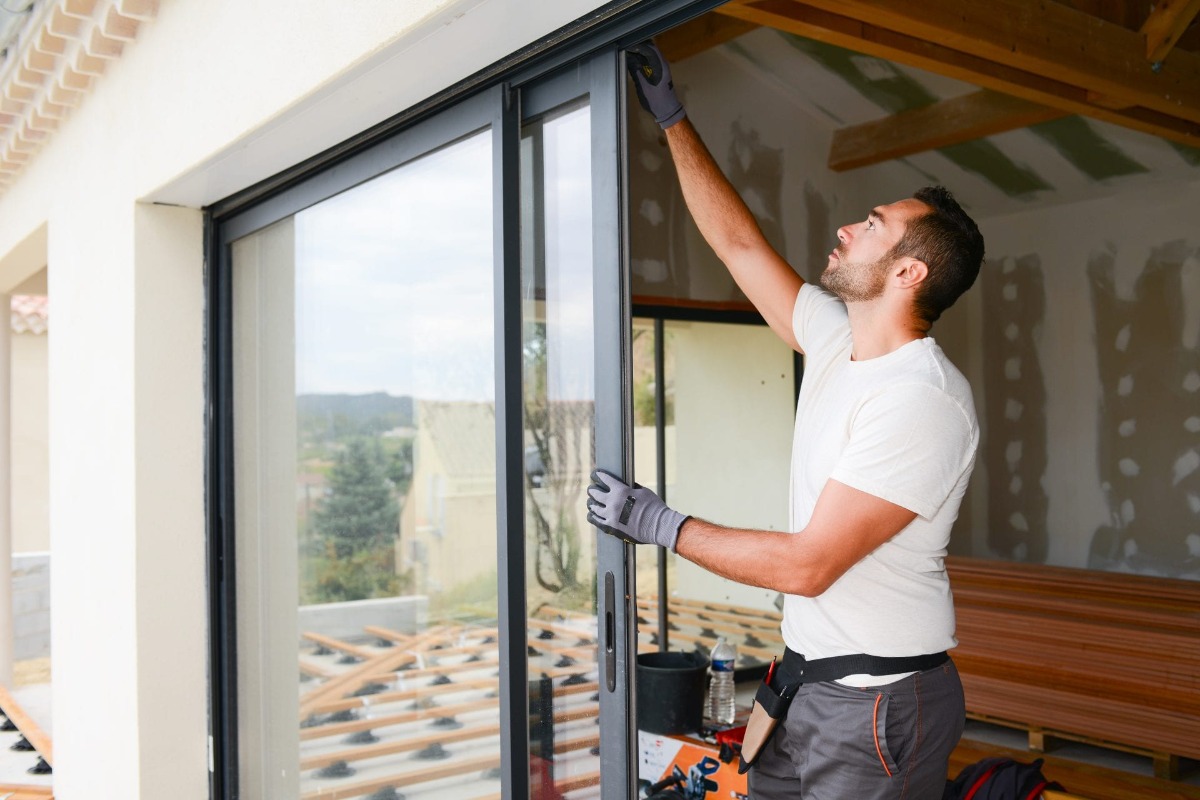
Start by removing the screen from the window frame. Carefully open the window and gently lift the screen out.
Examine the edges of the screen frame and identify the spline, a rubber gasket that holds the screen in place. Use a flathead screwdriver to carefully pry the spline out of the grooves around the frame.
If your window frame is wooden and the screen is secured with staples, use a staple remover or the flathead screwdriver tip to remove the staples. If there are nails, use the hammer’s claw to extract them.
Pro Tip: Take this opportunity to clean the window frame to ensure a tidy and durable installation.
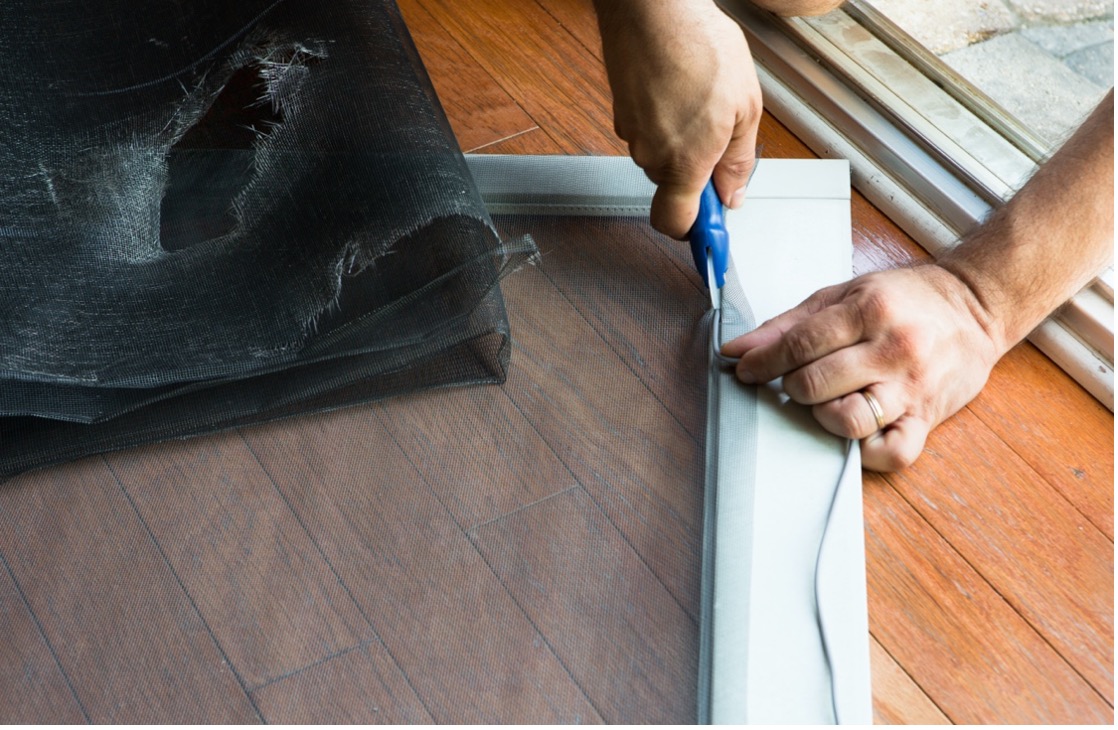
Lay the new window screen material flat on a level work surface. Ensure the material is larger than the frame, providing enough overhang on all sides.
Position the new screen material over the window frame, ensuring it fully covers the opening.
Use scissors to cut the screen material to size, leaving about 2 inches of excess material beyond the edges of the frame.
Pro Tip: Unroll the new screen material with the curved side down to make it easier to work with.
It uses a spline roller to press the new screen material and the spline into the frame’s grooves, starting from one edge. This will secure the screen in place.
As you work around the entire frame, ensure the screen material remains taut and wrinkle-free.
For wooden frames, if using a staple gun, carefully staple the screen material to the frame along the edges. Alternatively, use wire brads to nail the screen material into the frame.
Pro Tip: If using a staple gun, avoid over-stapling, as it may create uneven tension on the screen.
Once the entire screen is secured to the frame, go around the edges with scissors or a utility knife to trim off any excess screen material that overhangs.
During this step, be careful not to cut into the new spline or damage the screen material.
Carefully insert the newly replaced screen back into the window frame. Ensure it fits securely and aligns correctly.
Gently press down on the screen along the edges to ensure the spline firmly holds it in place.
Test the window to ensure it opens and closes smoothly without any obstructions.
Congratulations! You have successfully replaced your window screen, improving the functionality and aesthetics of your window while maintaining a pest-free and debris-free environment.
Cleaning and maintaining window screens is essential to ensure their longevity and functionality. Regularly cleaning screens helps to remove accumulated dirt, dust, and debris, preventing them from hindering airflow and obstructing the view. To clean, gently vacuum or brush both sides of the screen to loosen and remove dirt particles.
Subsequently, use a soft cloth or sponge dipped in a mild soapy water solution to wipe the screen, avoiding excessive pressure to prevent damage. Rinse with clean water and allow screens to air dry completely before reinstalling. Inspecting screens periodically for tears or damage and promptly repairing them will extend their lifespan and effectiveness.
When replacing window screens, consider an upgrade with Spensa security and storm screens for your home. These advanced screens surpass local standards, providing superior protection against intruders and extreme weather conditions. With a 10-year standard warranty, you can have peace of mind while ensuring your family’s safety.
Spensa offers a range of product options designed to suit your specific needs and preferences. If you’re ready to take the first step in making your home even safer, reach out to our team today. We’ll connect you with the nearest Crimsafe dealer for a personalized consultation. Upgrade with Spensa and experience the benefits of cutting-edge screen technology for your home.
In conclusion, replacing and properly maintaining window screens are crucial to maintaining a comfortable and secure living environment. Regularly checking for signs of damage and promptly replacing broken or distorted screens will ensure unobstructed views, improved airflow, and protection against pests and debris.
The step-by-step guide provides an easy-to-follow process for efficiently replacing window screens, helping homeowners save time and effort. Additionally, cleaning and inspecting screens on a routine basis will extend their lifespan and maintain their effectiveness. By prioritizing these simple yet essential tasks, homeowners can enjoy the benefits of well-functioning window screens, enhancing their homes’ overall comfort and safety.