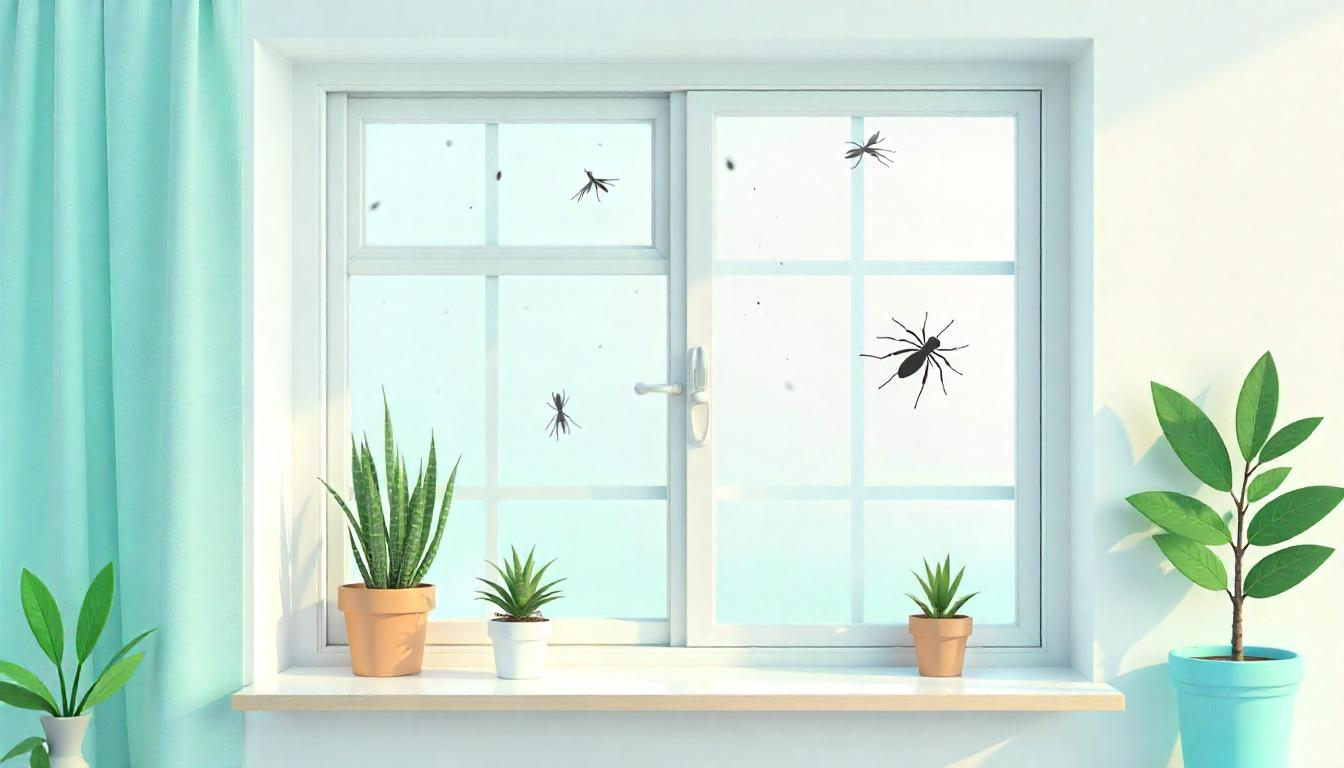
Mosquitoes and other insects can be a nuisance, especially in warmer months. One of the most effective ways to keep them out while maintaining airflow is by installing a mosquito net frame for windows. A properly installed mosquito net frame provides long-lasting protection, improves ventilation, and enhances your home’s aesthetic appeal.
In this guide, we’ll take you through a step-by-step installation process, covering everything from choosing the right frame to maintenance tips. Whether you're installing Spensa Screens mosquito net frames or another brand, this guide ensures a seamless process.
Why Install a Mosquito Net Frame?
1. Protection Against Mosquitoes and Insects
Mosquito net frames act as a physical barrier, preventing mosquitoes, flies, and other insects from entering your home.
2. Improved Air Circulation
Unlike closed windows, mosquito nets allow fresh air to flow through while keeping insects out.
3. Cost-Effective Solution
A mosquito net frame is a one-time investment that requires minimal maintenance compared to expensive repellents and insect killers.
4. Eco-Friendly and Safe
Unlike chemical repellents, mosquito net frames provide non-toxic protection, making them safe for children and pets.
Tools and Materials Required
Before starting the installation, gather the following tools and materials:
✔ Mosquito net frame (custom-fit or standard size)
✔ Measuring tape
✔ Drill and screws
✔ Screwdriver
✔ Adhesive Velcro (for Velcro-based frames)
✔ Hacksaw (if frame resizing is needed)
✔ Cleaning cloth
✔ Silicone sealant (optional, for extra sealing)
Step-by-Step Guide to Installing a Window Mosquito Net Frame
Step 1: Measure Your Window
Accurate measurements ensure a perfect fit and easy installation.
How to Measure:
Use a measuring tape to note the height and width of your window frame.
If opting for a fixed frame, ensure extra space for secure fitting.
If using a sliding frame, consider the space required for smooth movement.
Record the dimensions and purchase a custom-fit frame from Spensa Screens.
Step 2: Choose the Right Mosquito Net Frame
There are different types of mosquito net frames, each suitable for different needs:
Fixed Frame: Best for permanent mosquito protection.
Sliding Frame: Ideal for windows that need regular opening and closing.
Magnetic Frame: Great for rented apartments, as they require no drilling.
Retractable Frame: Best for modern homes, allowing flexibility.
Step 3: Clean the Window Area
Before installation, wipe down the window area to remove dust and dirt. A clean surface ensures a strong hold.
For Fixed Mosquito Net Frames
Step 4: Install the Mosquito Net Frame
Position the frame against the window to check alignment.
Mark the drill hole locations on the wall or window frame.
Use a drill to create holes for screws.
Secure the frame using screws and a screwdriver.
Ensure there are no gaps where mosquitoes can enter.
For Sliding Mosquito Net Frames
Attach the guide rails to the window edges using screws.
Insert the sliding mosquito net frame into the rails.
Test the movement to ensure smooth sliding.
Apply silicone sealant if needed for extra sealing.
For Magnetic Mosquito Net Frames
Stick magnetic strips onto the window edges.
Attach the mosquito net frame to the magnetic strips.
Ensure the frame is securely attached with no gaps.
Easily remove it for cleaning and maintenance when necessary.
For Velcro-Based Mosquito Net Frames
Apply Velcro strips along the window frame.
Attach the mosquito net firmly to the Velcro.
Make sure it sticks evenly without sagging.
This type allows for easy removal and cleaning.
Step 5: Test the Frame for Stability
Once the installation is complete, test the mosquito net frame to ensure:
No visible gaps where mosquitoes can enter.
The frame is securely attached and doesn’t wobble.
Smooth operation if it’s a sliding frame.
Step 6: Final Touches
Wipe the net frame with a dry cloth to remove fingerprints and dust.
If needed, apply silicone sealant to enhance the durability of the frame.
If you installed a magnetic or Velcro-based frame, check for firm attachment.
Maintenance Tips for Mosquito Net Frames
1. Regular Cleaning
Use a soft brush or vacuum to remove dust and dirt.
Wash the mesh with mild soap and water once a month.
2. Check for Wear and Tear
Inspect for holes, rust, or damage regularly.
If the net is damaged, replace only the mesh instead of the full frame.
3. Lubricate Sliding Frames
- If you have a sliding mosquito net frame, apply lubricant to ensure smooth movement.
4. Store Detachable Frames Properly
Magnetic and Velcro frames can be removed and stored when not in use.
Keep them in a dry place to avoid damage.
Frequently Asked Questions (FAQs)
1. Can I install a mosquito net frame myself?
Yes! Many mosquito net frames, especially magnetic and Velcro-based ones, are easy to install without professional help.
2. How long does a mosquito net frame last?
With proper care, high-quality mosquito net frames, like those from Spensa Screens, can last over 10 years.
3. Do mosquito net frames block airflow?
No, they allow maximum ventilation while keeping insects out.
4. Are mosquito net frames suitable for all window types?
Yes! Spensa Screens offers custom-fit mosquito net frames for all window styles.
5. Can I remove and reattach the mosquito net frame?
Yes, Velcro and magnetic frames allow for easy removal and reattachment.
Conclusion
Installing a mosquito net frame is an easy, cost-effective, and long-lasting way to keep your home mosquito-free while ensuring fresh air circulation. By following this step-by-step guide, you can set up your Spensa Screens mosquito net frame quickly and efficiently.
For custom-made, durable, and stylish mosquito net frames, choose Spensa Screens – the ultimate solution for mosquito protection and ventilation in your home!